Words by Peri Roberts
To be clear, this blog is a tutorial on how to tune your bar specifically for kite foiling, not a set of rules to follow blindly. It’s about understanding intent first, then making small, informed adjustments that give you more control, more options and clearer feedback once you’re on foil.
At the centre of Alex’s bar tuning is one clear objective: enabling the kite to fly backwards when needed. Not as a trick, but as a functional tool for riding swell, managing power, and staying connected while moving downwind on foil. As Alex explains, “the foundation of what I’m speaking about in this video is simply making it so you can fly your kite backwards.”
For kite foiling, this changes how power is managed. Instead of looping the kite to reposition it – which often introduces more power than desired – the kite can be slowed and controlled directly. “Looping the kite is not a solution… Flying the kite backwards is the answer.”
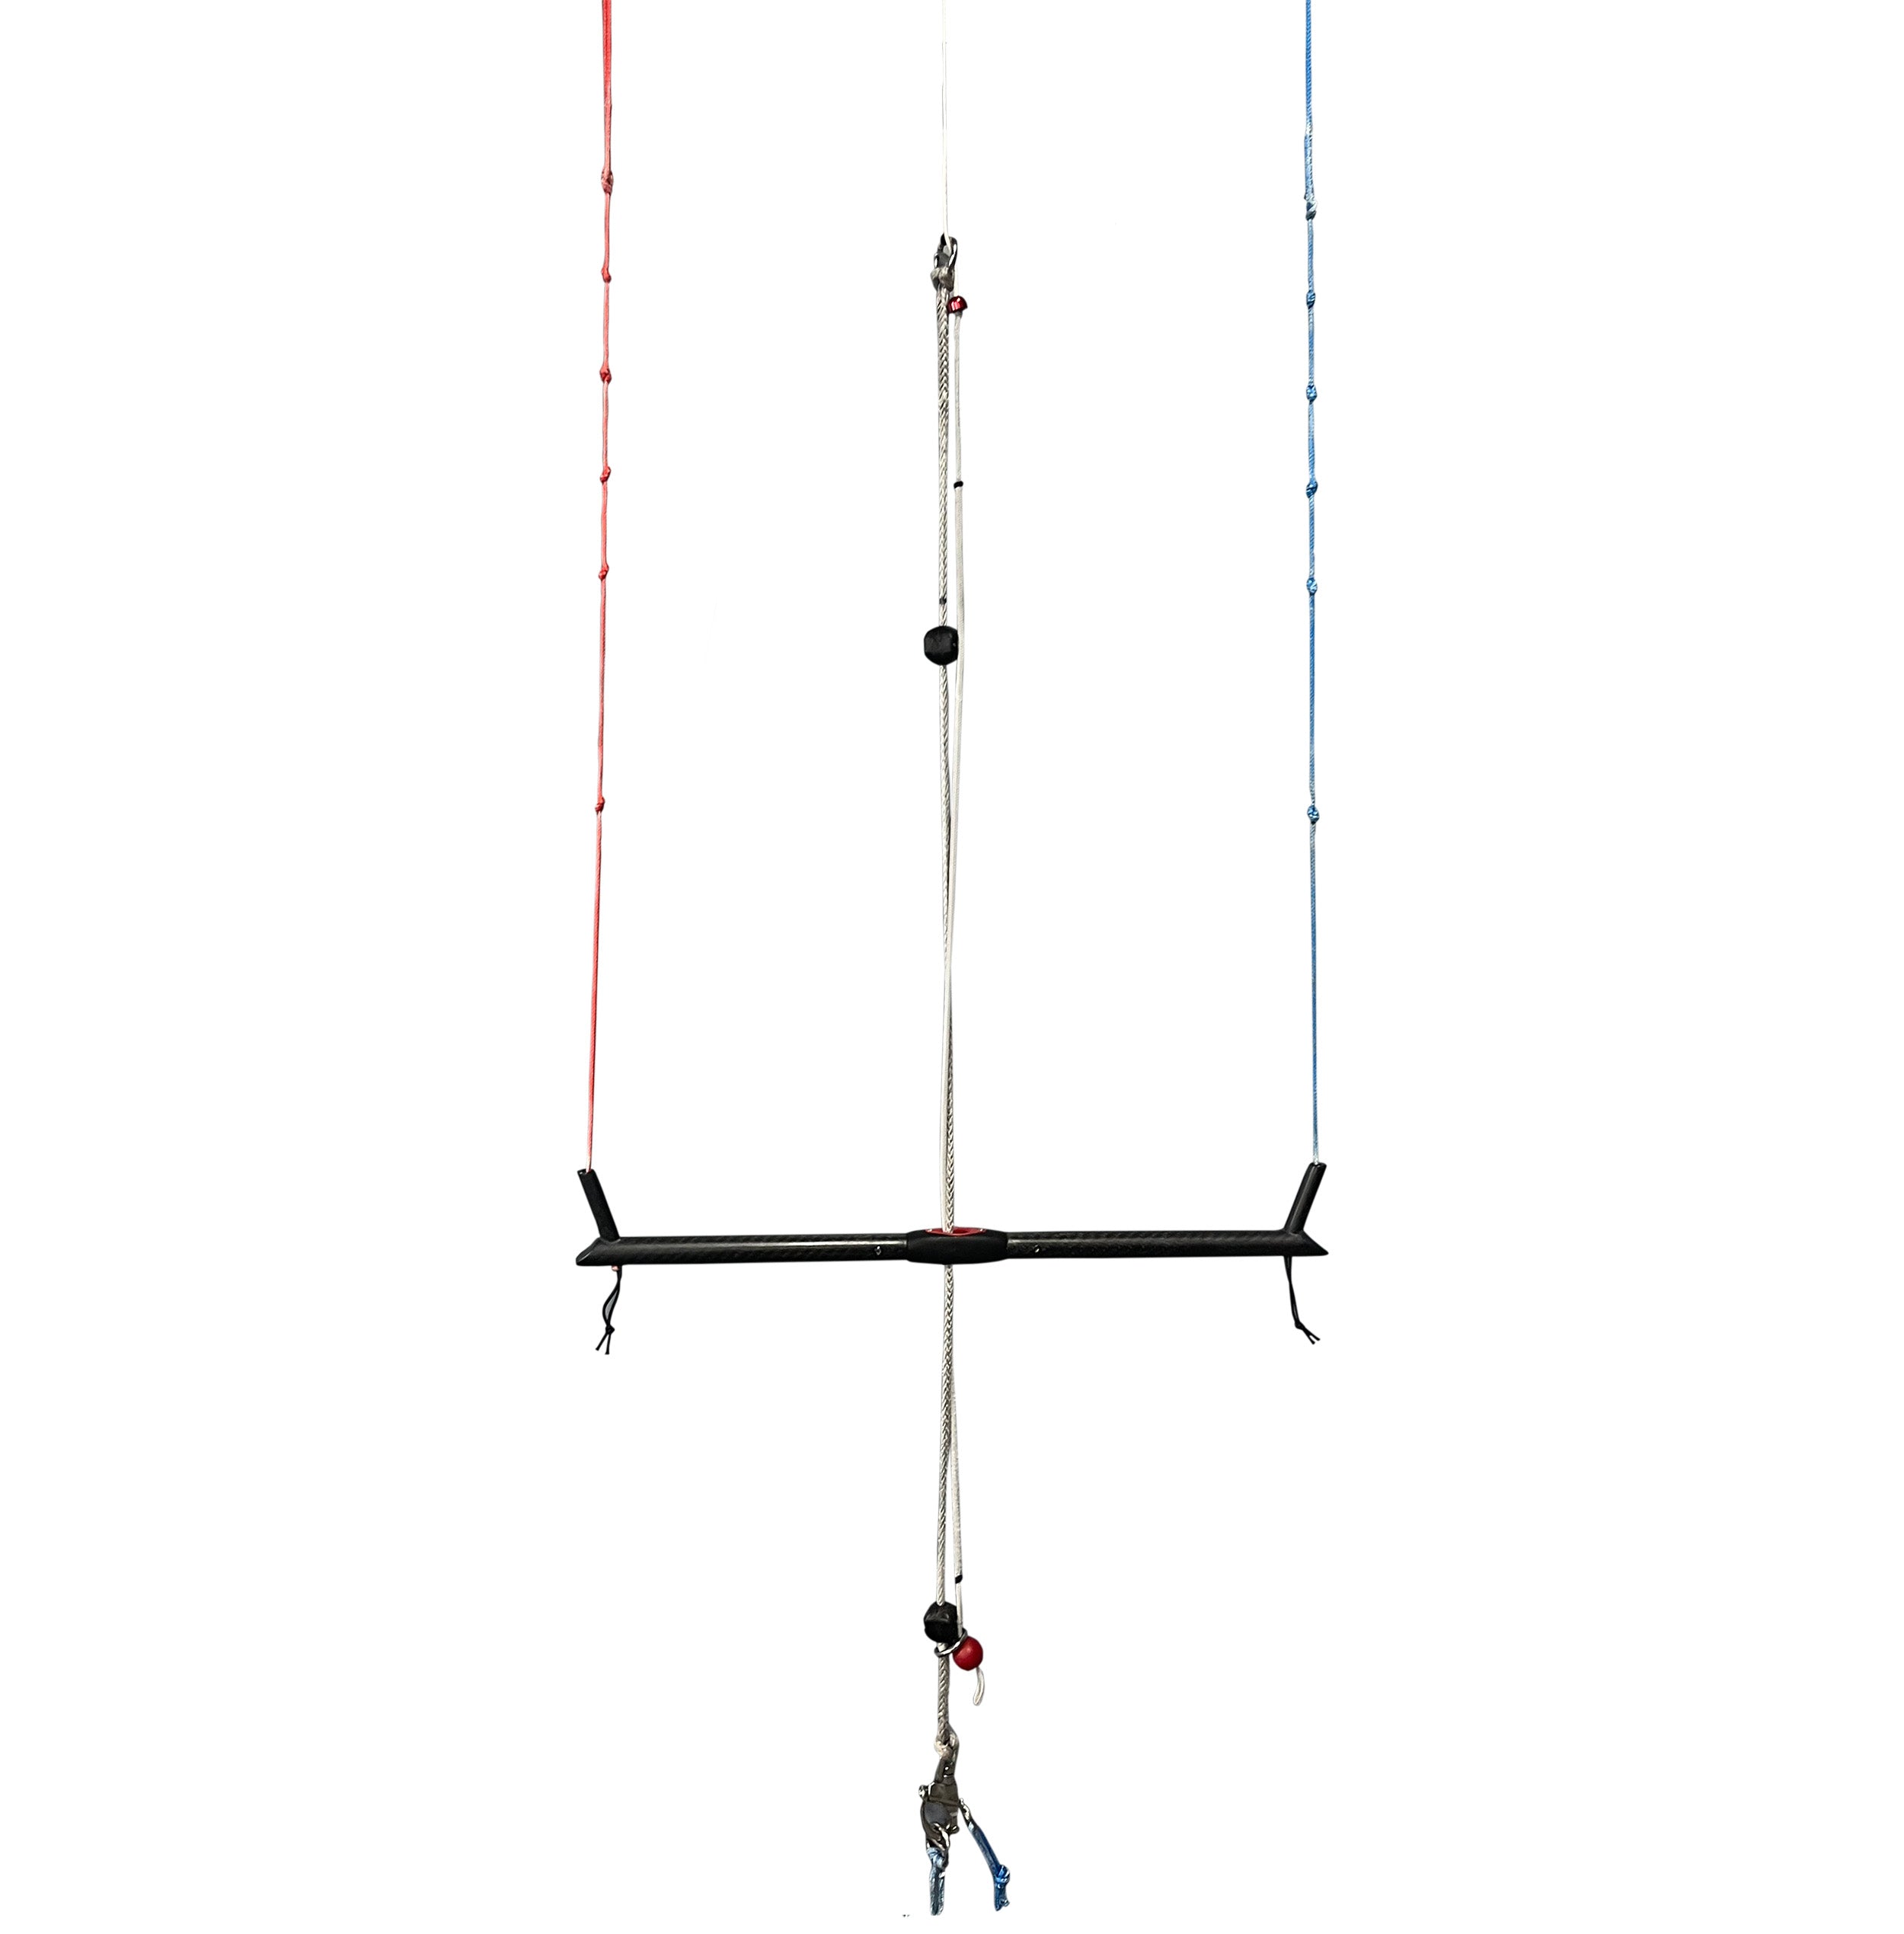
Most factory bar setups are designed to be neutral and versatile, and that’s often where they begin to limit kite foiling. Lines are equal at full power, throw is moderate, and back-line tension is sufficient for steering – but limited when it comes to aggressive backstall. Alex sees this as the first constraint foil riders encounter, explaining that “this space here at the bottom isn’t enough… this isn’t enough backline tension to properly backstall your kite or fly it downwind backwards.” On foil, especially when riding directly downwind, riders often reach the end of the bar’s usable throw before the kite reaches a behaviour that actually helps them.
Once the bar is tuned to allow the kite to fly backwards, the experience on the water changes immediately. Riders gain an alternative to looping – one that keeps the kite slower, closer, and more manageable when riding swell or waves. “This is how we really can go downwind riding on swell, riding on waves without needing to loop the kite,” Alex explains.
That same behaviour becomes useful in stronger wind too, because flying the kite backwards reduces efficiency, and therefore power. “Flying your kite backwards creates less power because the kite is less efficient.” In kite foiling terms, inefficiency becomes control.
So, how do we achieve that?
The physical tuning required to unlock this behaviour is minimal, but deliberate. As Alex puts it, “in reality, all I’m doing is either extending my front lines from 5 to 10 cm or decreasing my back lines from 5 to 10 cm.” This adjustment shifts where equal line tension sits within the bar’s throw, creating more usable range to backstall when needed. Crucially, Alex avoids framing this as a measurement to copy, stressing that “you can’t simply just copy what I’m doing.”
Bar tuning for kite foiling isn’t one-size-fits-all, because riders aren’t standardised either. “All kite bars, kites – they’re all tuned slightly differently,” Alex explains, pointing to arm length, stance, bar throw, line length, kite size and riding style as factors that all influence where a bar should sit relative to the rider’s body. The goal isn’t matching someone else’s numbers, but finding the point where the kite flies neutrally during normal riding while still leaving room to backstall aggressively when required.
Much of the discussion around Alex’s setup focuses on chicken loop length, but he frames this as an ergonomic decision rather than a technical one. “For me, having a big chicken loop isn’t a problem. I have a wingspan over 6 feet,” he says. What matters is where the bar sits in your normal riding stance. “You want to have your lines equal where it’s comfortable to ride around.” If the kite is constantly backstalling during everyday riding, Alex sees that as a clear sign the tuning is off. “If you find you’re riding around and your kite’s just backstalling all the time, you’ve got it set wrong.”
Rather than committing to large changes, Alex advocates for small, reversible adjustments. “Simply add a knot… Bang. 7 cm more.” Ride it, feel it, and adjust again if needed. “You’re only going to need to change it a couple times. And once you have it right, that’s going to be it.” The tuning process is about narrowing in on what works for you.
Alex is also clear about where this tuning approach is intended to be used. “This is 100% for kite foil,” he says. At the same time, the underlying principle isn’t limited to small kites. “It’s also going to work with larger kites… as long as you have it set up right for your body and how you ride.”
The tuning method is universal; the way it’s applied is discipline-specific.
What stands out most in Alex’s explanation is that this tutorial isn’t about declaring a correct setup, but about expanding how the kite can be flown. “It’s about having choices of different ways you can fly the kite for different wind conditions, different wave conditions, different wind directions.” Forward, backward, powered, depowered – all available without defaulting to loops.
If you want the full visual walkthrough straight from Alex, including live demonstrations of each adjustment, you can watch the complete video here.
Kite foil bar tuning - a practical framework:
-
Start from your normal riding position, with lines equal where the bar feels comfortable
-
Check whether you can intentionally backstall the kite when fully sheeted in
If not, extend your front lines or shorten your back lines in small increments (around 5–10 cm) -
Test the setup on foil, focusing on downwind riding and power control
-
Make sure the kite does not backstall during normal riding
-
Adjust incrementally until you can fly the kite backwards only when you choose to
-
Lock the setup once it delivers control rather than constant correction
That’s the heart of this tutorial: tuning your bar for kite foiling in a way that’s built from experience, not guesswork, and understanding why it works before worrying about how far to pull a knot.
![Boxer [Q]Series](http://www.naish.com/cdn/shop/files/Untitleddesign_694c9ad1-f26e-424e-8662-2b117fbb83e1.png?v=1741113212&width=1080)